Setting the Stage#
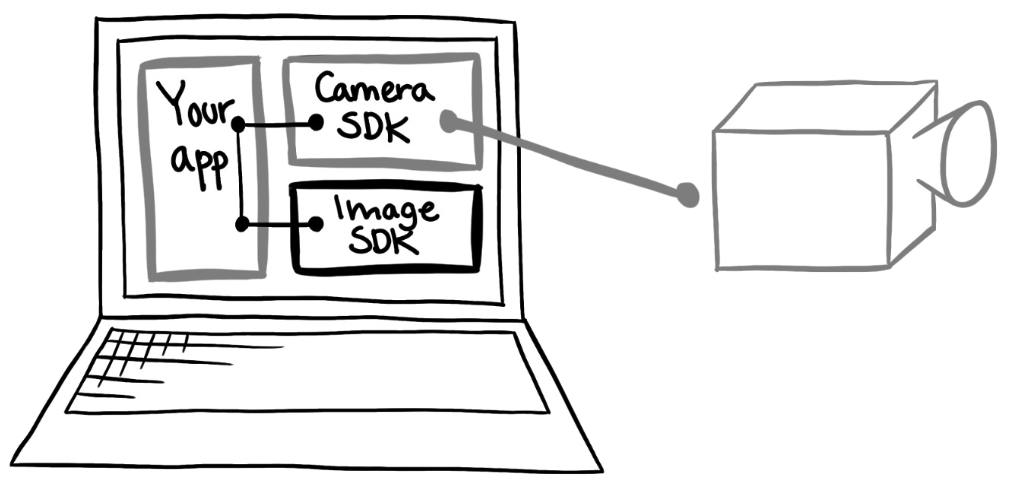
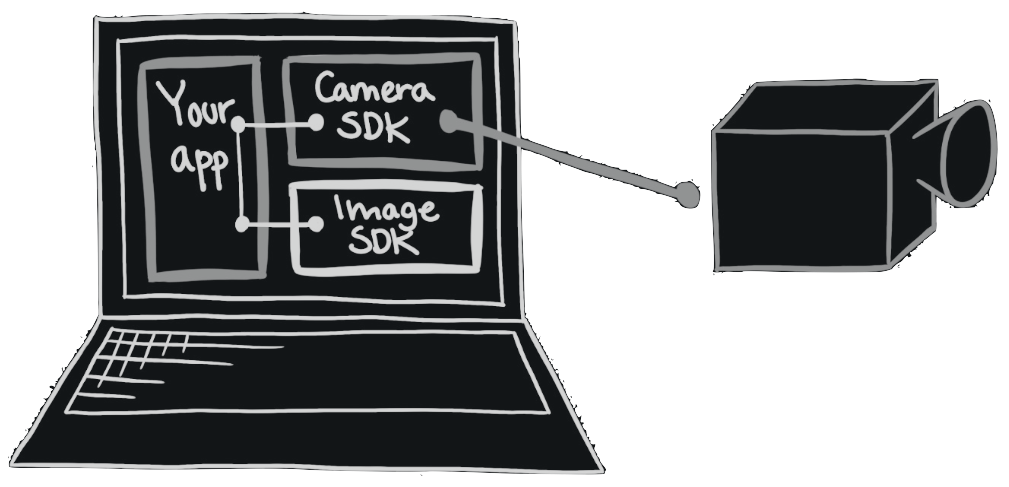
The following sections provide an example of how the CameraSDK and ImageSDK works, both in relation to each other, and to other components: The camera and the host computer.
The examples are not code-specific.
CameraSDK and ImageSDK#

The CameraSDK communicates with the camera, using the IQP protocol (IQP), which is a Phase One proprietary protocol.
The camera itself has a number of properties, which can be accessed through the CameraSDK.
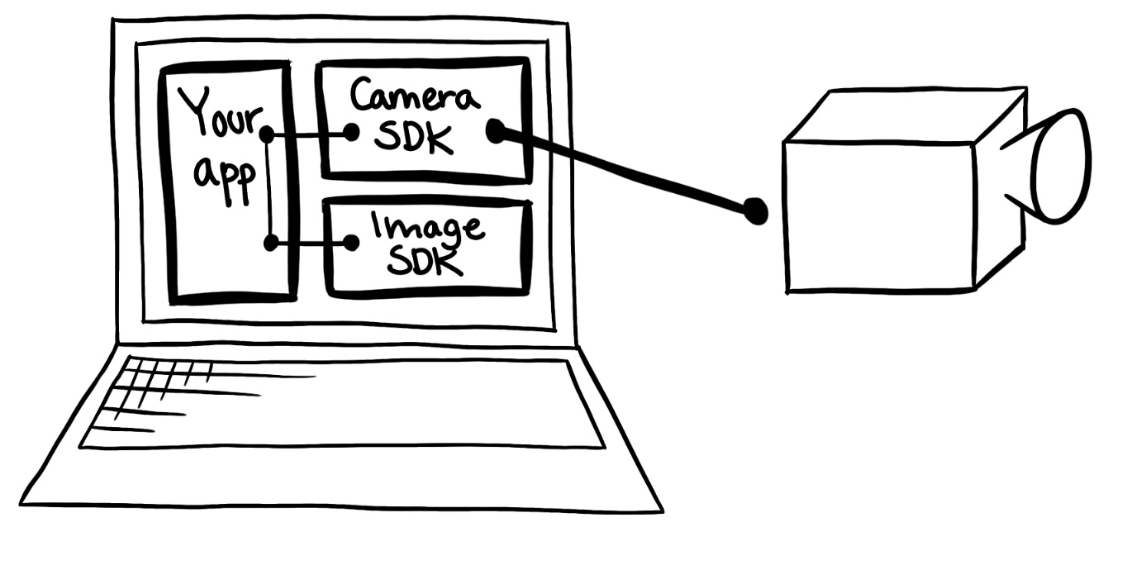
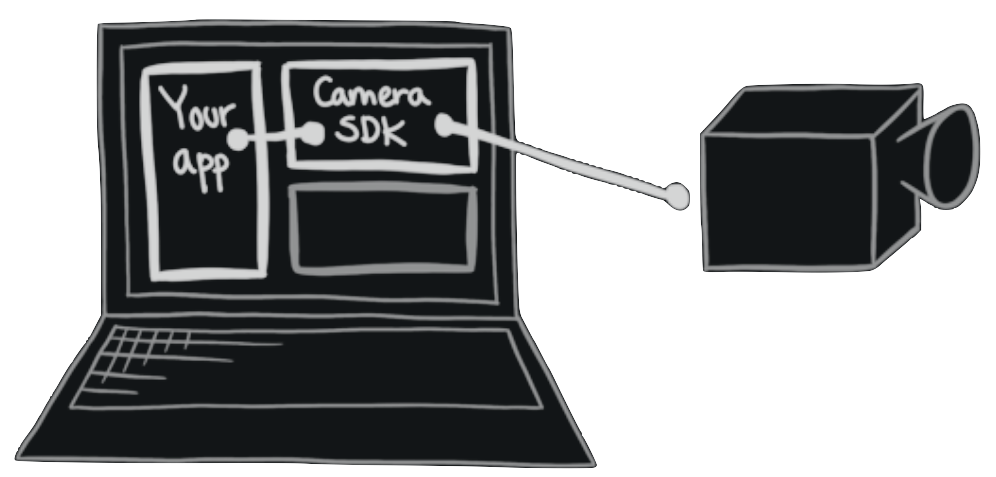
In the following example, we want to write an application (“your app” on the Host computer), utilizing the CameraSDK to remotely operate a camera. We want to set the “aperture” property of the camera and capture an image. Having captured the image, we want to use the ImageSDK to read and process the image data.
To do this, we need to establish a connection (1, 2). Then, we can access the properties of the camera (2, 3). After setting up the camera to send the captured images to the Host computer (4), we can then capture an image remotely (5) and receive it on the host computer, where it can be stored (6). Utilizing the ImageSDK, we want to extract meta- data about the aperture (to ensure everything went smoothly) (7), and convert the image to RGB (8).
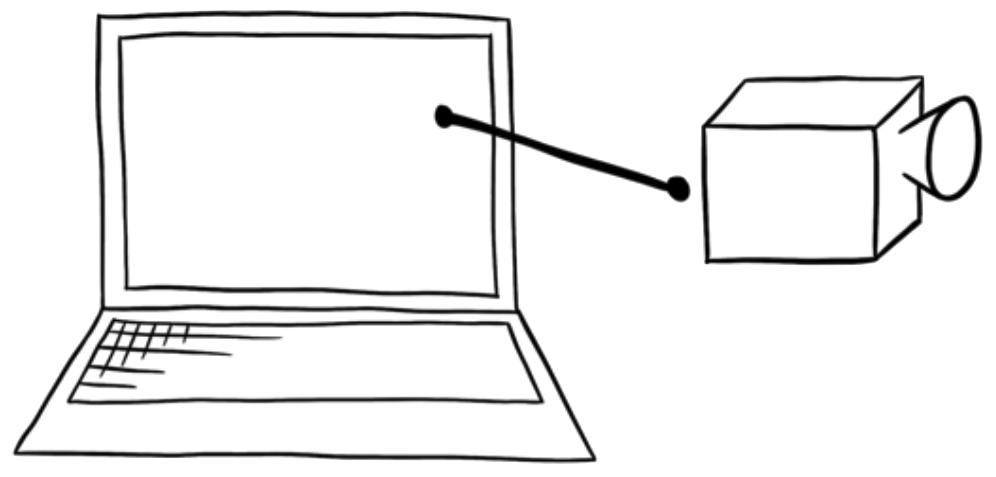
1) Establish a physical onnection between the host computer and the camera.
The host computer is the system from which we want to control the camera. We can connect to the camera using either USB or TCP/IP.
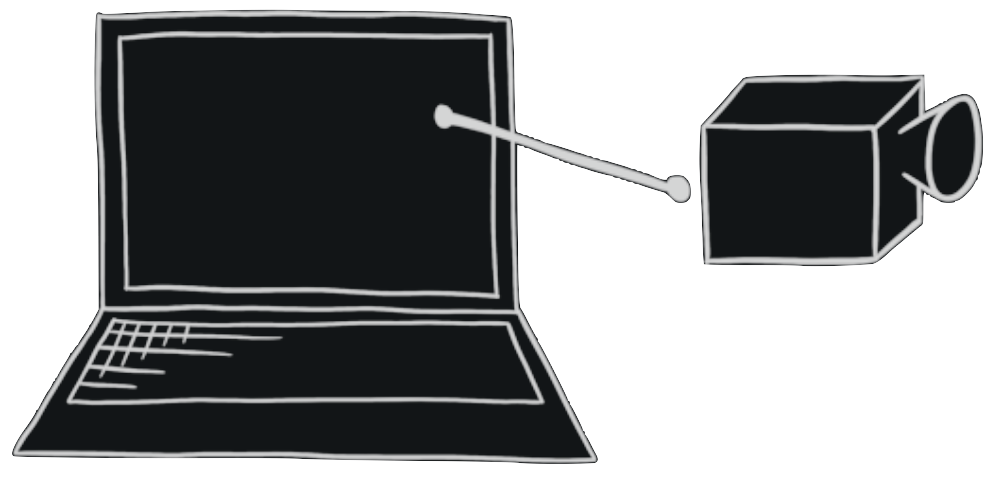
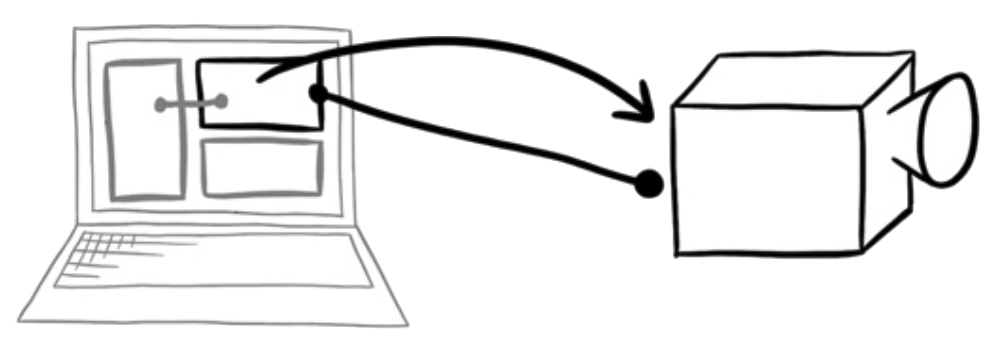
2) Open the camera.
Once the camera has been opened (establishing a logical connection), we can begin communication between the application and the opened camera.
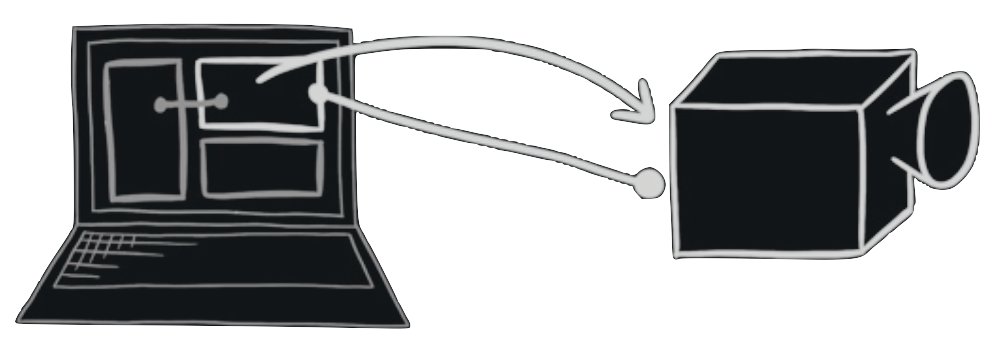
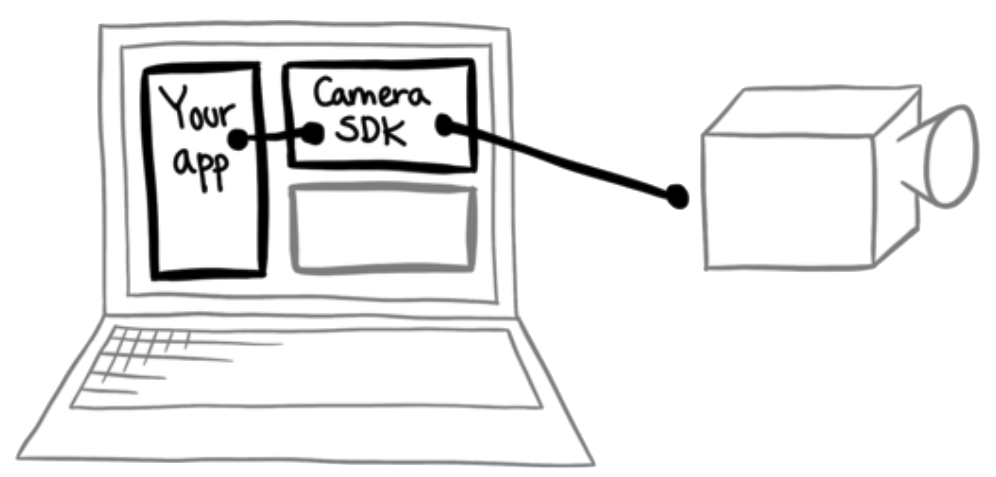
3) Set “aperture” to a value of 5.6.
Through the CameraSDK, we can read and write the properties of the camera, such as “aperture”, “shutter speed” and “ISO”.
4) Tell the camera to send captured images to the host computer.
Before we initiate a capture, we tell the camera where to store the images. This could be on the host computer or locally on the camera, e.g. on an XQD card. We want to store them on our host computer.


5) Initiate “image capture” from the host computer.
Starting the capture will trig the camera to capture an image, according to the properties previously set by the host computer. In this example, the image is sent to the host computer as specified in the previous step.

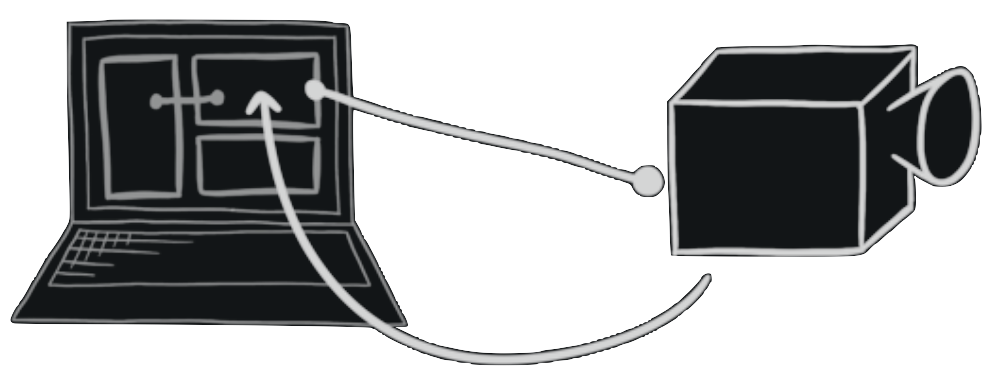
6) Receive the image on the host computer.
Upon receiving the image, we can choose to “Save to File” as-is. The data is a complete IIQ file, so we can save it as a stream of bytes, and it will be a valid IIQ file.
To read the image data and/or process it, we now move from the CameraSDK, to the ImageSDK. We do this, to
7) Extract meta-data about the image, inspecting the “aperture” property’s value.
Following this, we continue to use the ImageSDK, to:
8) Convert the captured raw data into RGB image.
Now we can convert the raw data embedded in the IIQ file into an image which can be presented on screen. During the conversion certain adjustments can be applied, so the image looks satisfactory.
9) Store the converted RGB image
ImageSdk can store the converted image into TIFF format, which can be delivered to the end customer, or further processed by other tools.